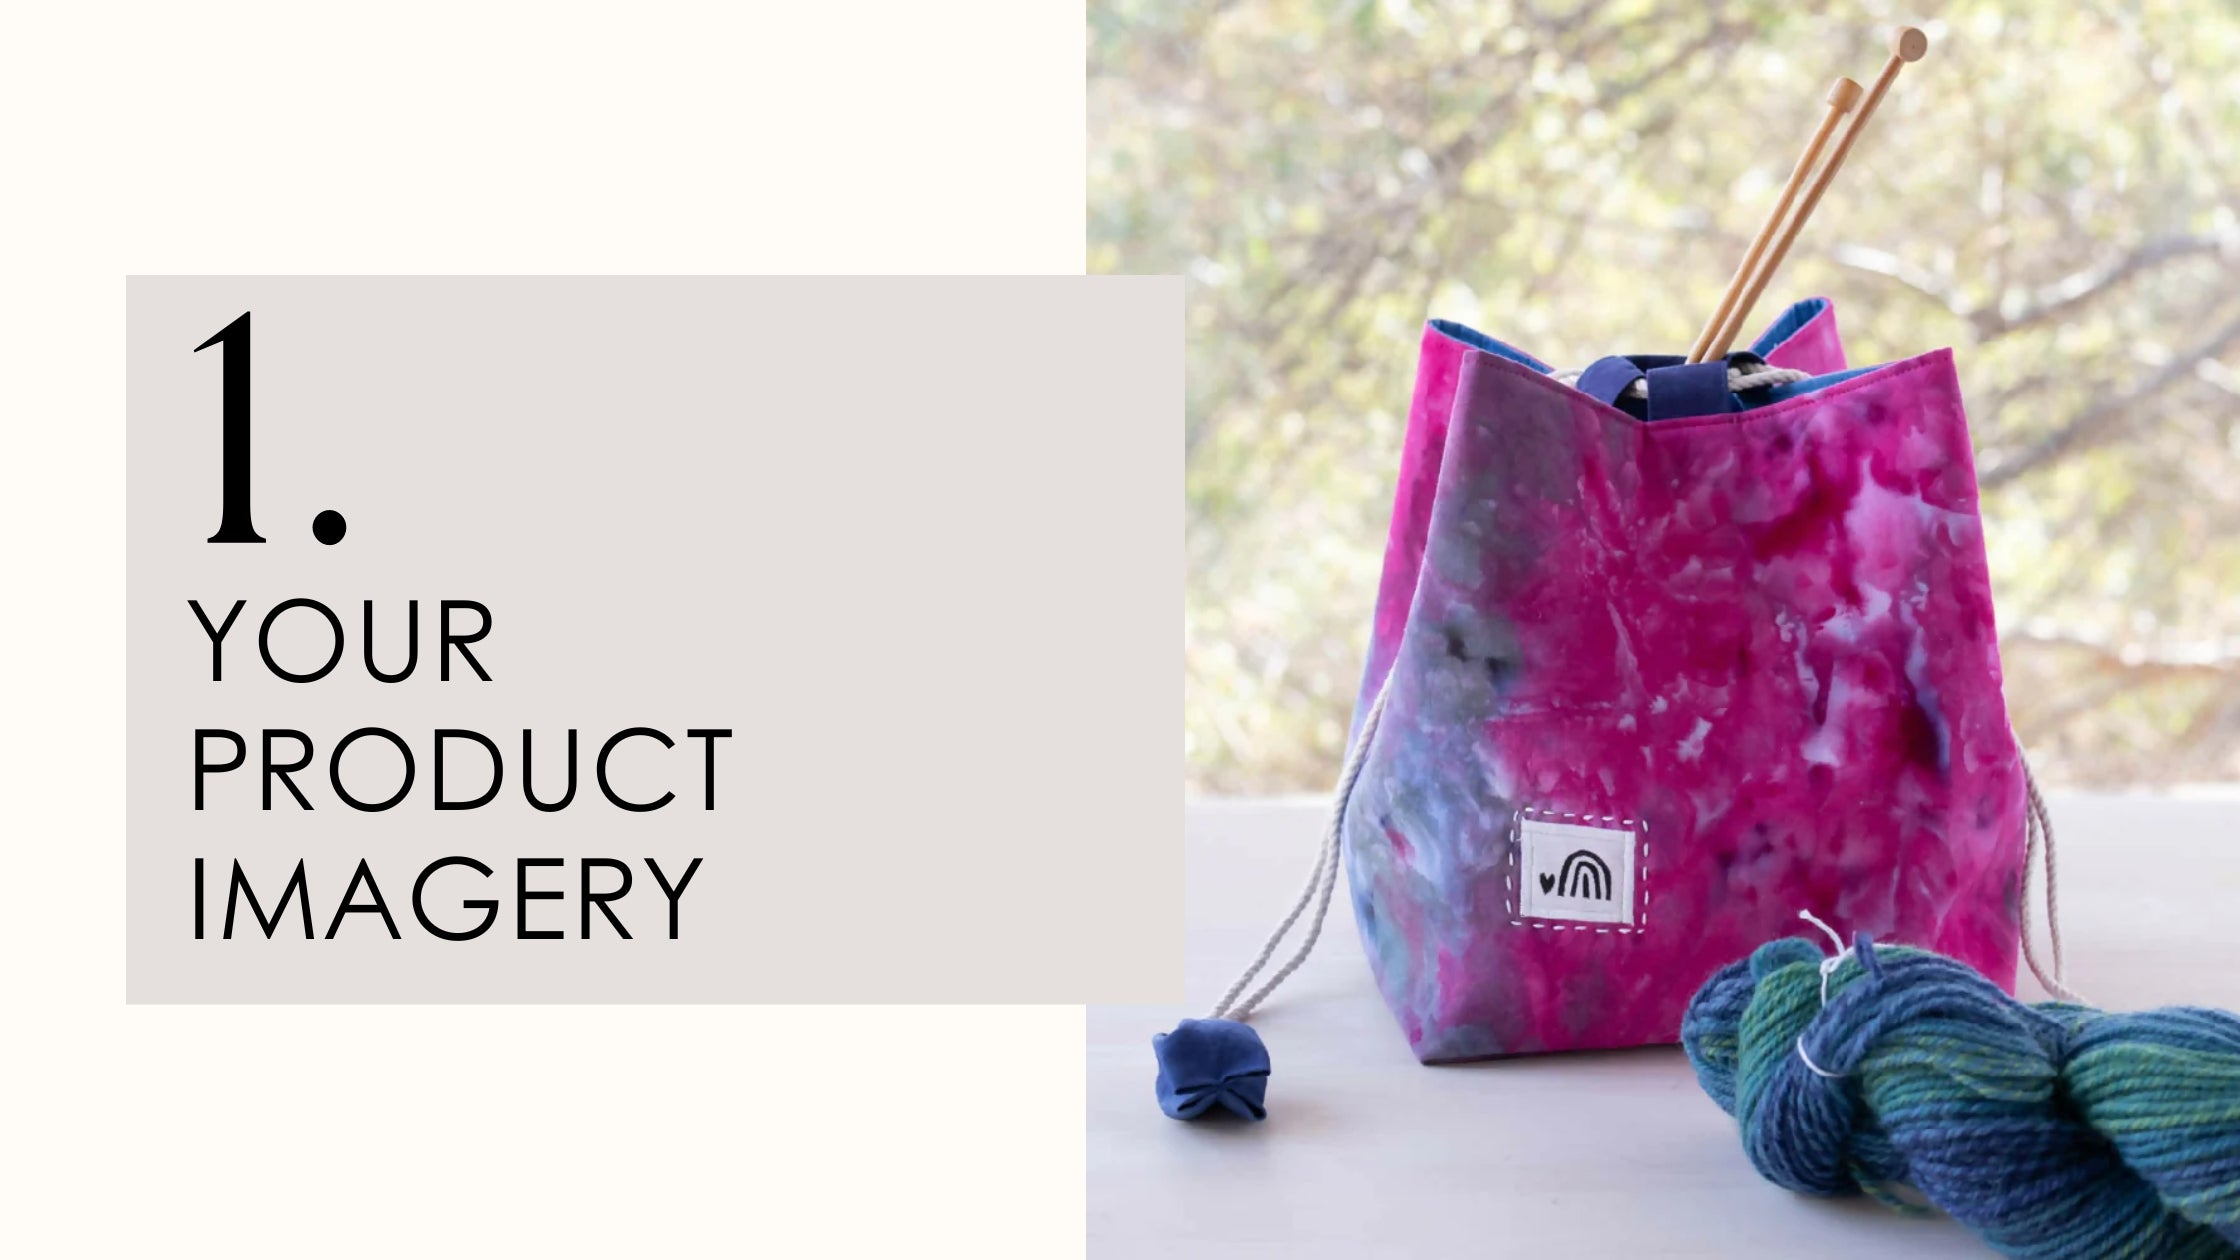
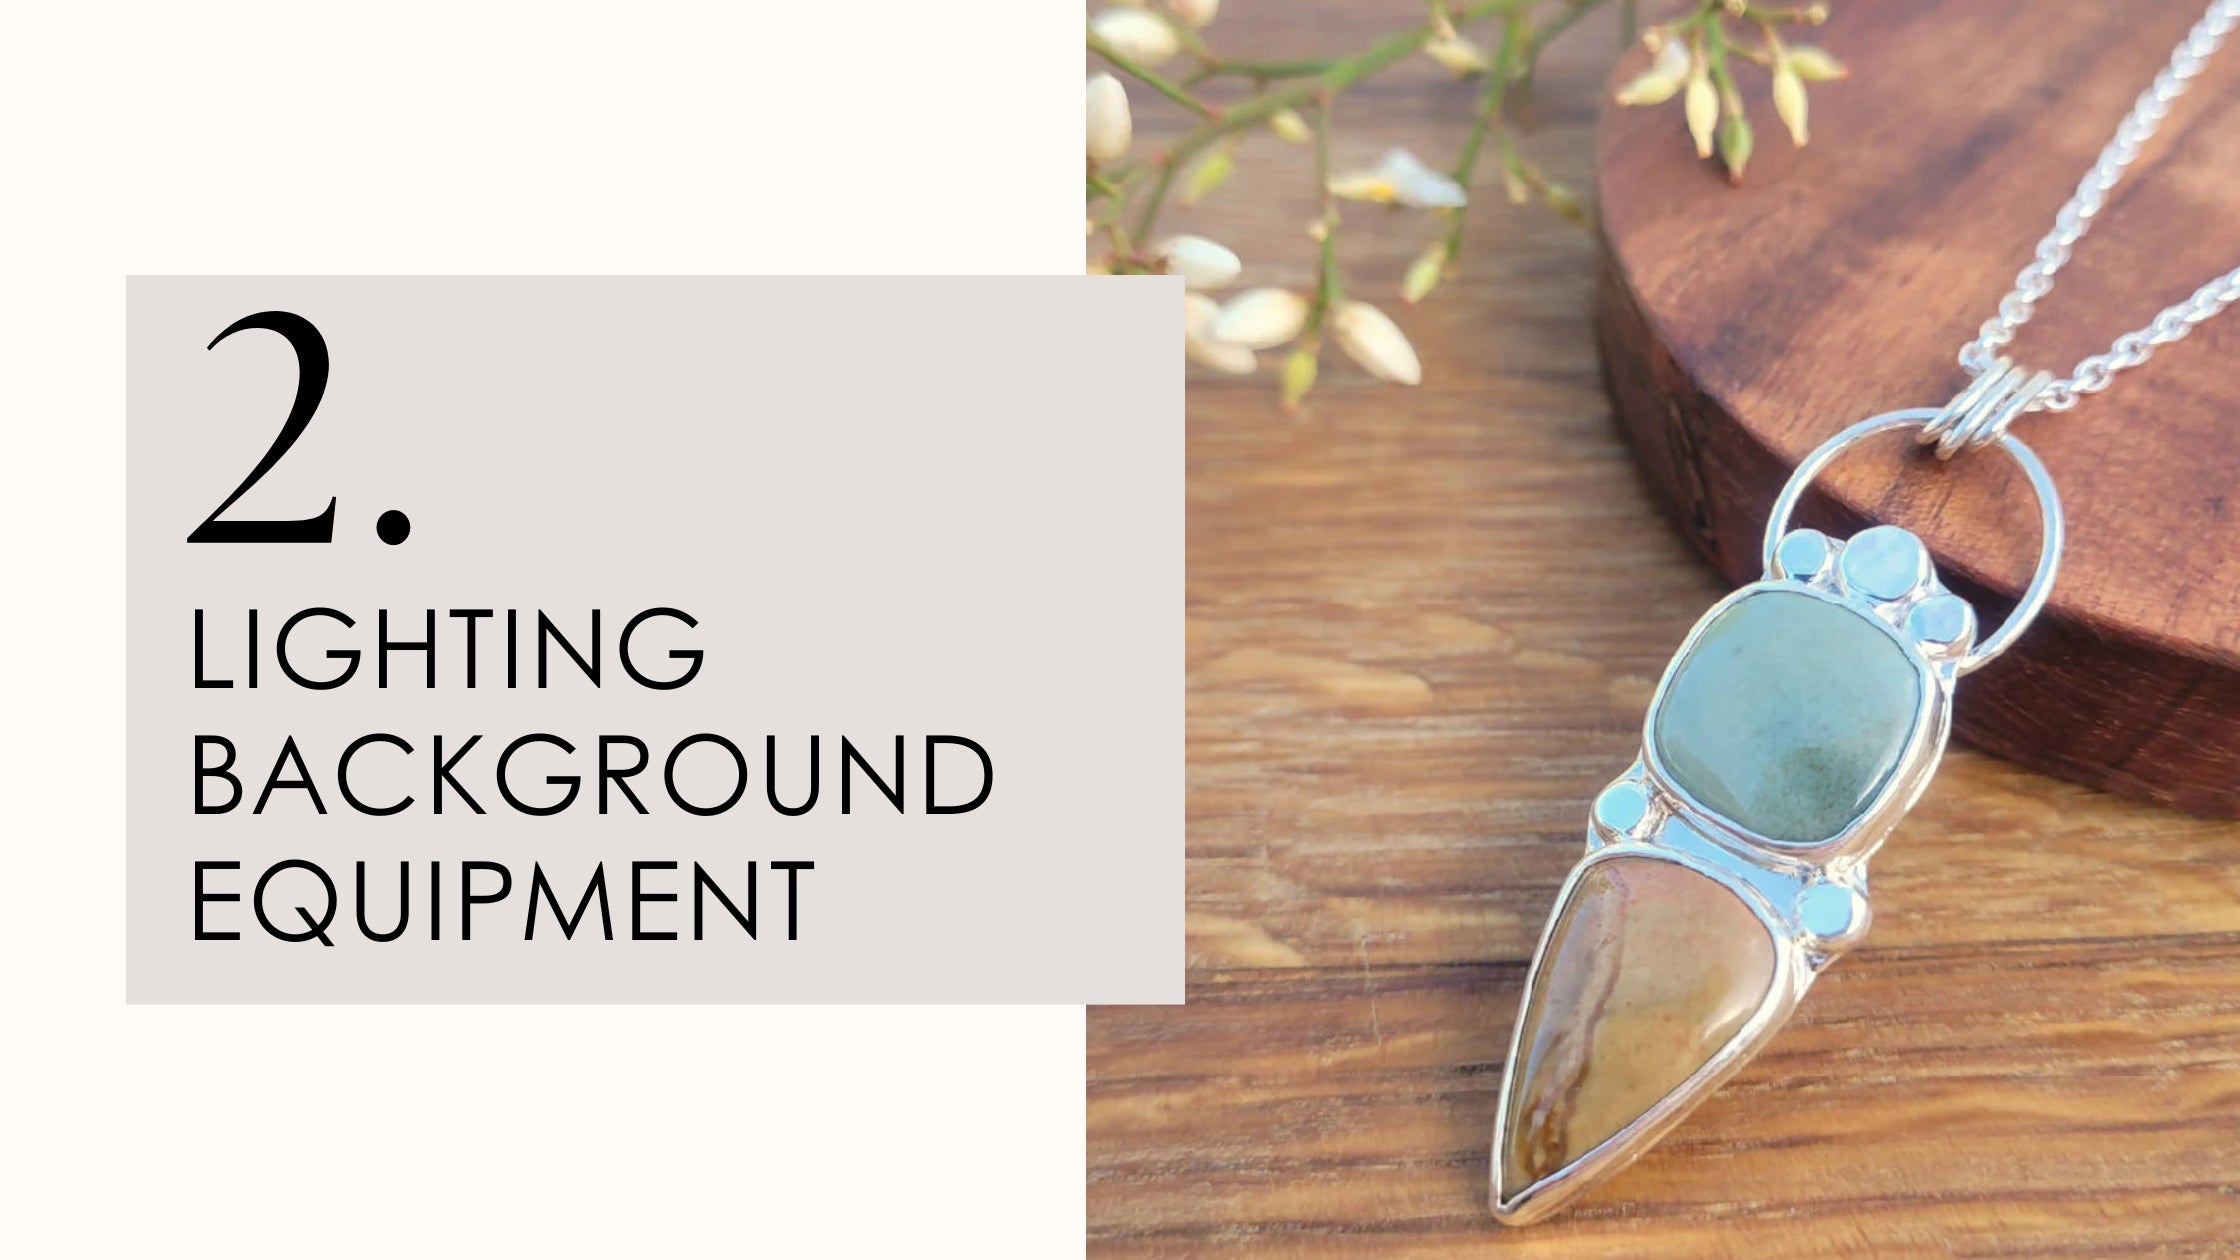
Lighting, Backgrounds and Getting the Shot
If you haven’t read Blog 1: Why Product Imagery Matters (and Where to Start), we recommend starting there. We explored why product photos are so important and how doing a bit of research can help you find your own visual style.
This blog is part two of our three-part series based on the Madeit Intro to Product Imagery Masterclass.
Let’s dive into lighting, backdrops, and setting up your shot.
This is where things start to come to life.
💡 Let’s Talk About Light
Before you buy anything fancy, start with the simplest and most powerful tool you already have: natural light.
Good lighting can take your product photo from 'meh' to 'I want that' in a snap. It brings out texture, shape, and detail. And it doesn’t cost a thing.
If you’re shooting indoors, set up near a window with soft, even light. Avoid harsh direct sunlight or overhead lighting at night. Face your product toward the light and take a few test shots. Adjust your angle and position until it feels right.
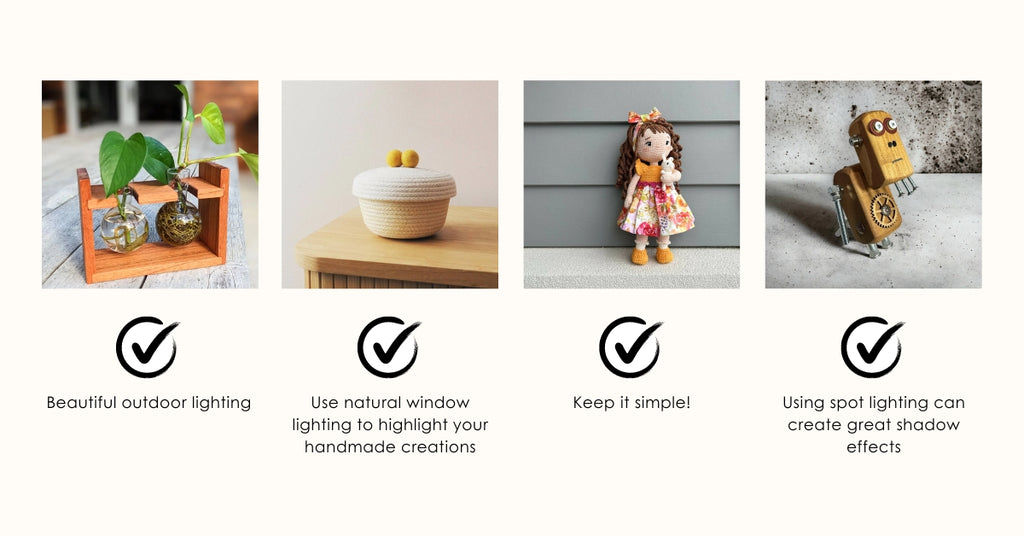
🪄 What Makes a Great Setup?
It’s not about having the perfect space. It’s about using what you’ve got and being intentional.
Keep the focus on your product, not what's behind it. A clean background, soft light, and a simple angle can do all the heavy lifting.
Check out this video from the Intro to Product Imagery Masterclass.
🎯 Composition Tips That Work
Simple works best. Think about how the product sits in the frame and whether your customer can clearly see what it is.
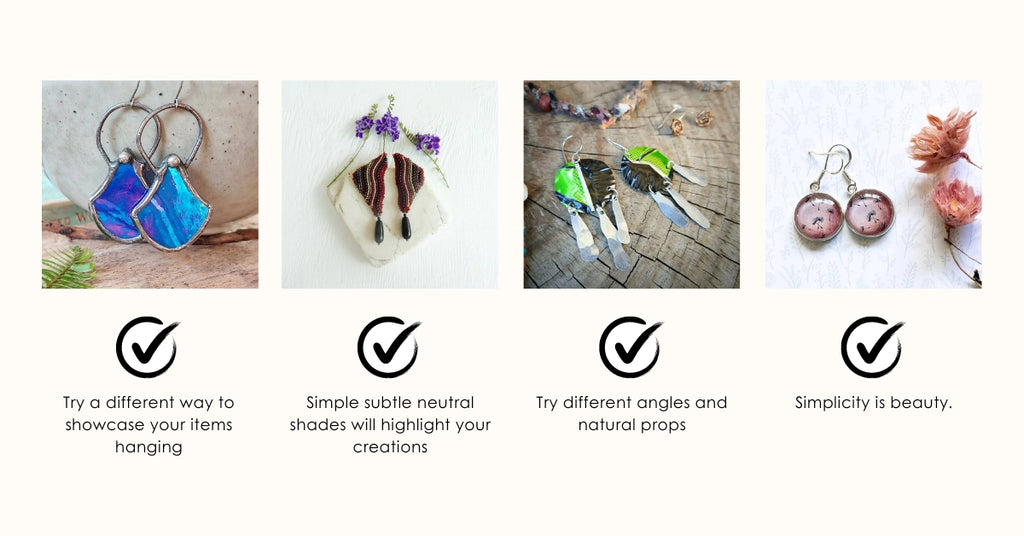
Some helpful tips:
-
Fill the frame but don’t crop too tight
-
Leave some space around the product
-
Keep your angles straight and consistent
-
Flat lays work well for sets or styled shots
-
Props are great, but make sure they support the product, not steal the spotlight
Always ask: does this image help someone connect with what I’ve made?
🧪 Test, Review and Adjust
Even pros take test shots. Move your product around, try different times of day, and review your results.
You might only need to shift the angle or background to completely transform the feel. This part is about play and progress, not perfection.
🌿 What’s Next?
Next up, we’re talking about the five essential images every product needs. These are the shots that help your customer feel confident clicking 'Add to cart.'
👉🏼 Download our Free Product Image Checklist here
👉🏼 Check out Introduction to Product Imagery Masterclass.
If you're feeling stuck or unsure, you're not alone.
Got a question? Reach out any time at support@madeit.com.au.
Warmly, Leina, Bec, Stacey and Sue
The Madeit Team